An Easter Garland
Creating an enchanting Easter garland with simple materials and a touch of creativity, crafting a festive decoration that embodies the spirit of Easter.
Estimated Time: 1-2 hours Difficulty Level: Beginner-friendly
Materials Needed
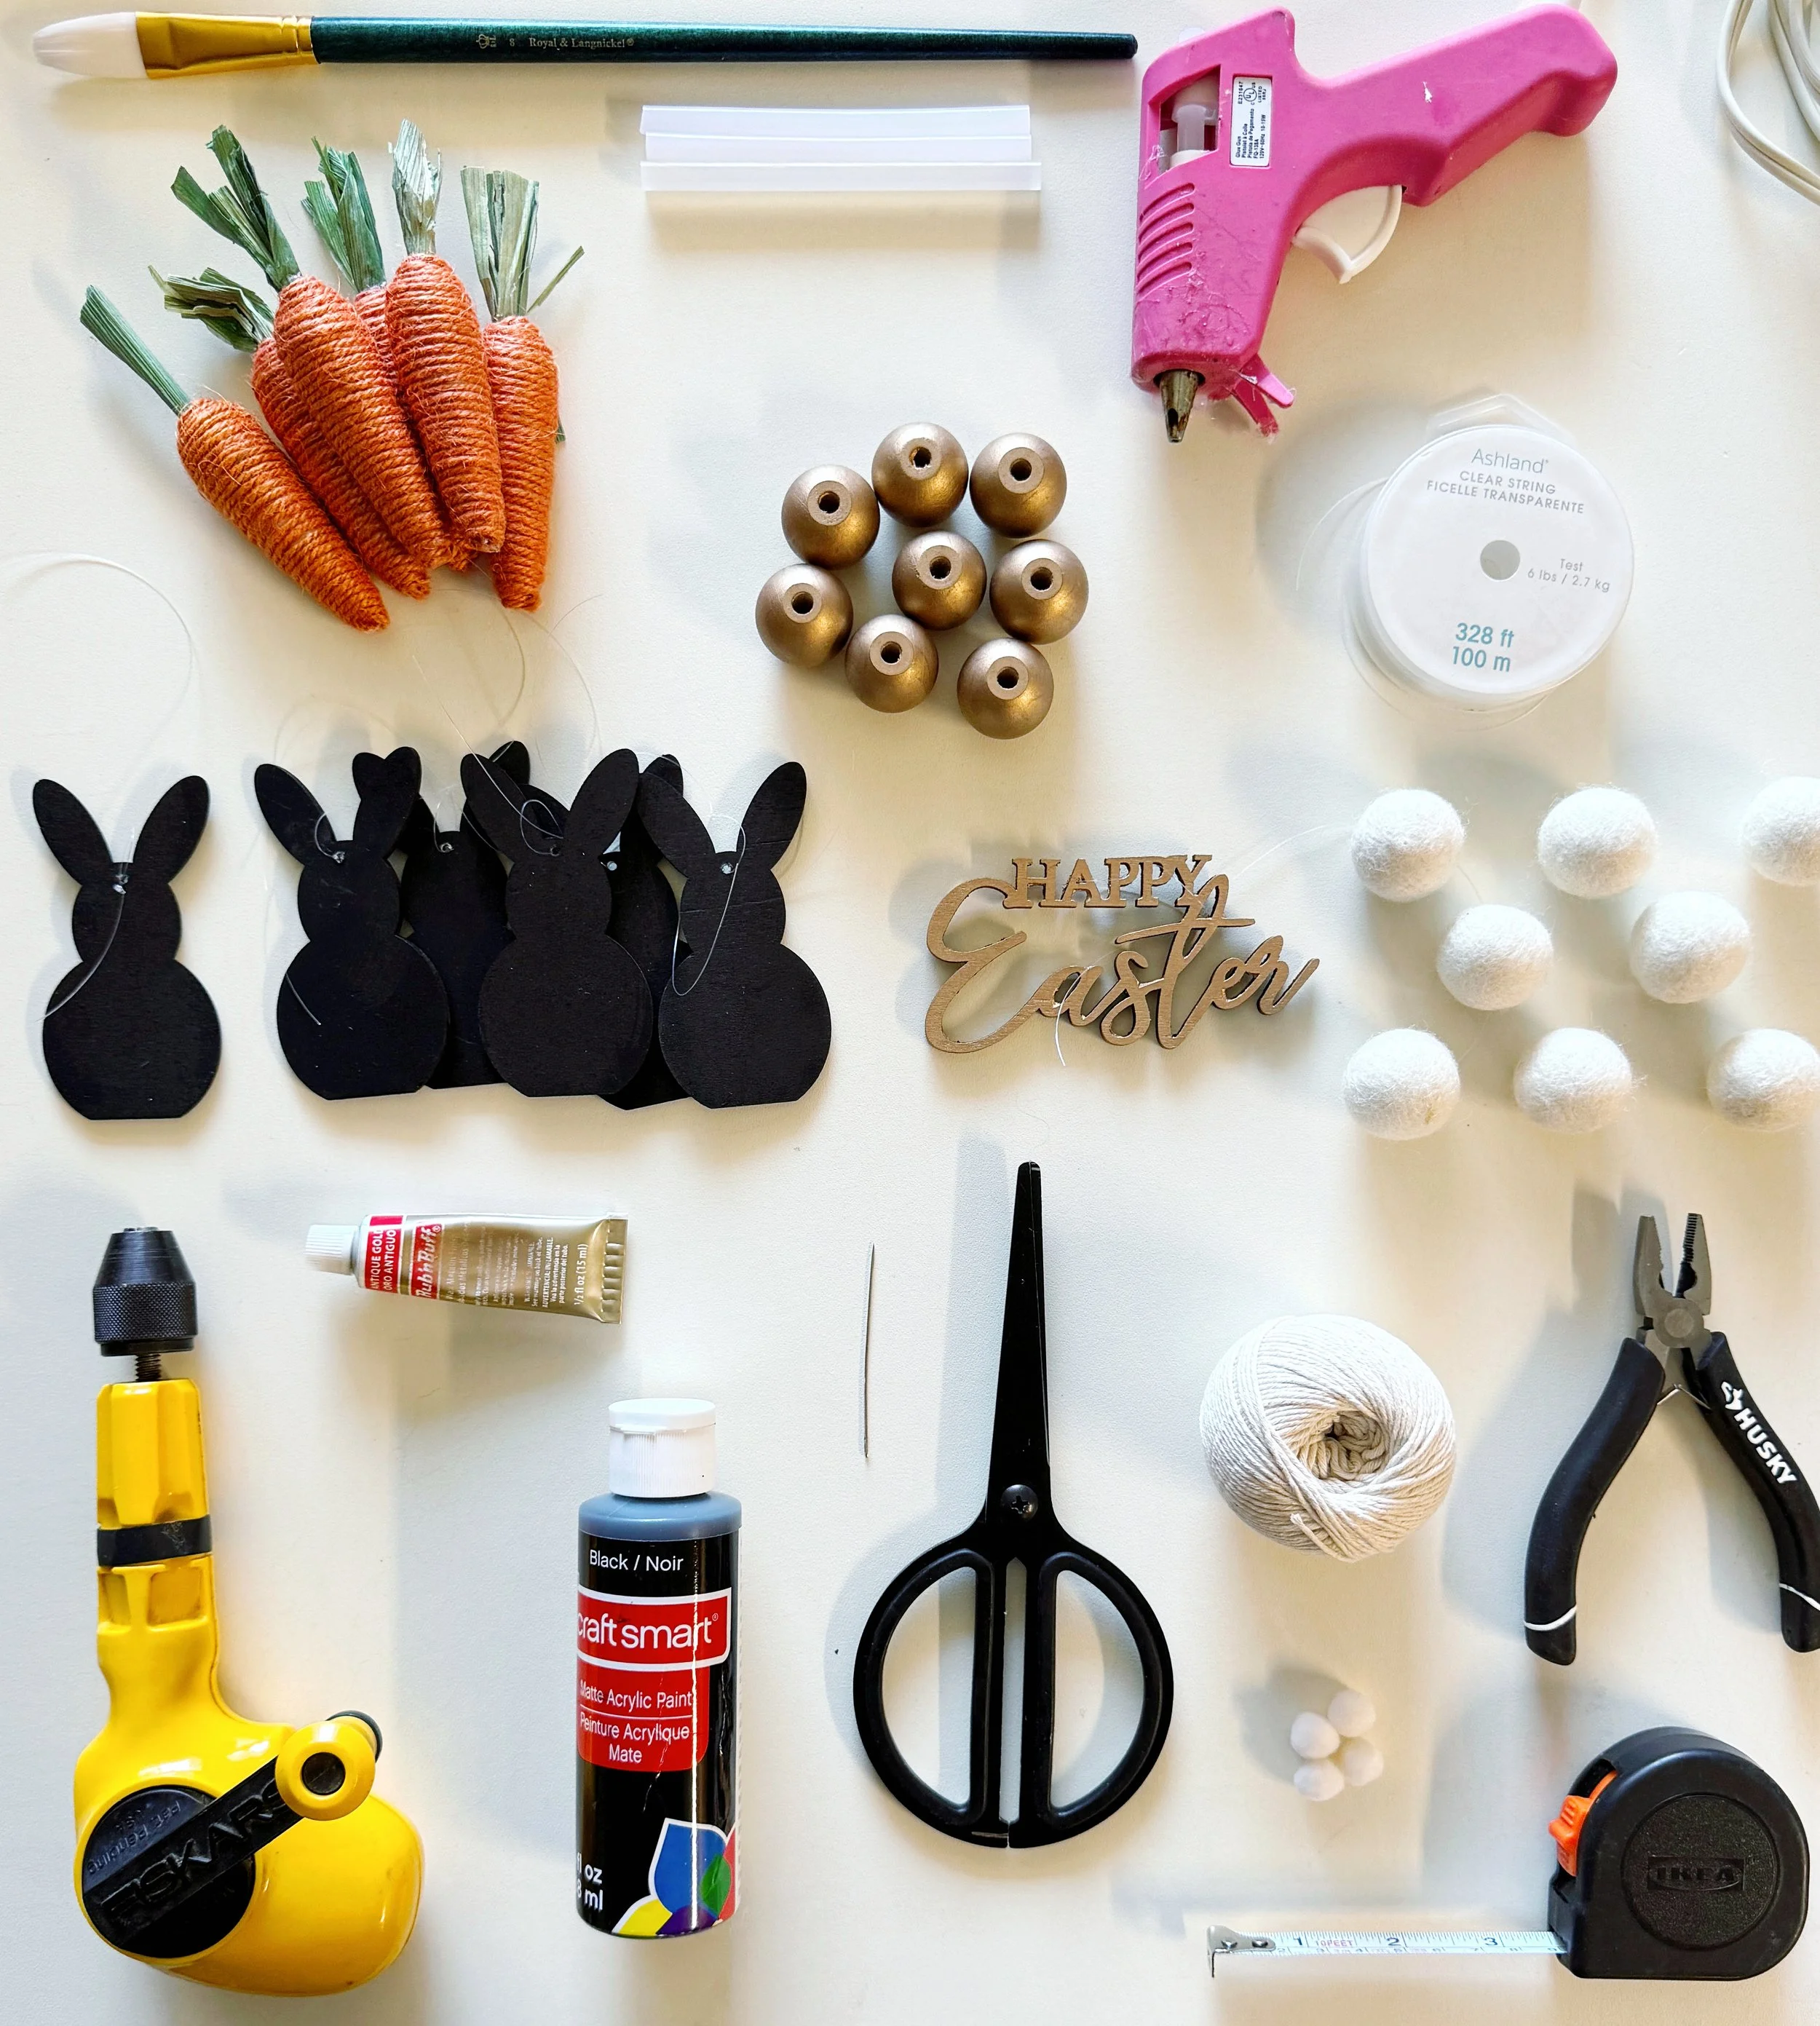
To create the garland, I gathered the following items, each item played a crucial role in the assembly of this decoration:
• White Felt Balls: These will serve as the main connectors between the decorative elements.
• Fabric Carrots: Adding a splash of Easter-related color and texture.
• Wooden Bunnies: Painted black with a white tail detail for contrast and a cute factor.
• Needle: to get the string through the felt balls.
• Thread or String: To hold all the elements together into a garland.
• Scissors: For cutting string and making any adjustments to materials.
• Pliers (optional): If any adjustments are needed for the stringing material.
• Wooden Beads: Painted gold for a bit of elegance and to act as spacers.(optional).
Preparation
It was imperative to set up my crafting area on a flat, clean surface. Having all my materials within reach helps to streamline the crafting process. I was working with paint and glue, so to protect my table surface, I used craft paper.
Carrots and Bunnies
The wooden bunnies were pre-cut, so I painted them black as it is my favorite color and I added add a small white detail for the tail, I used tiny pompoms . The fabric carrots come ready-made, which added a tactile element to the garland and a pop of color.
Adding Small Details
The wooden bunnies are simple yet effective; a coat of black paint gives them a silhouette effect. I added a tiny pompom for a tail.
Assembling the Garland
1. Layout: I began by laying out your felt balls, fabric carrots, wooden bunnies, and wooden beads in the order I envisioned to string them. Honestly I drew a little sketch(you can see it above) the end product varied a bit from it, but it was a good starting point.
2. Stringing: I cut the string about 3.5’ long enough for your garland with some extra for hanging. I used the needle to thread the felt balls, alternating with the carrots, bunnies, and beads.
3. Spacing: I ensured that each item is evenly spaced. I made a small knot before and after each item to fix them in place and at times used some hot glue to keep them in the right place after spacing to my aesthetic preference.
Displaying Your Garland
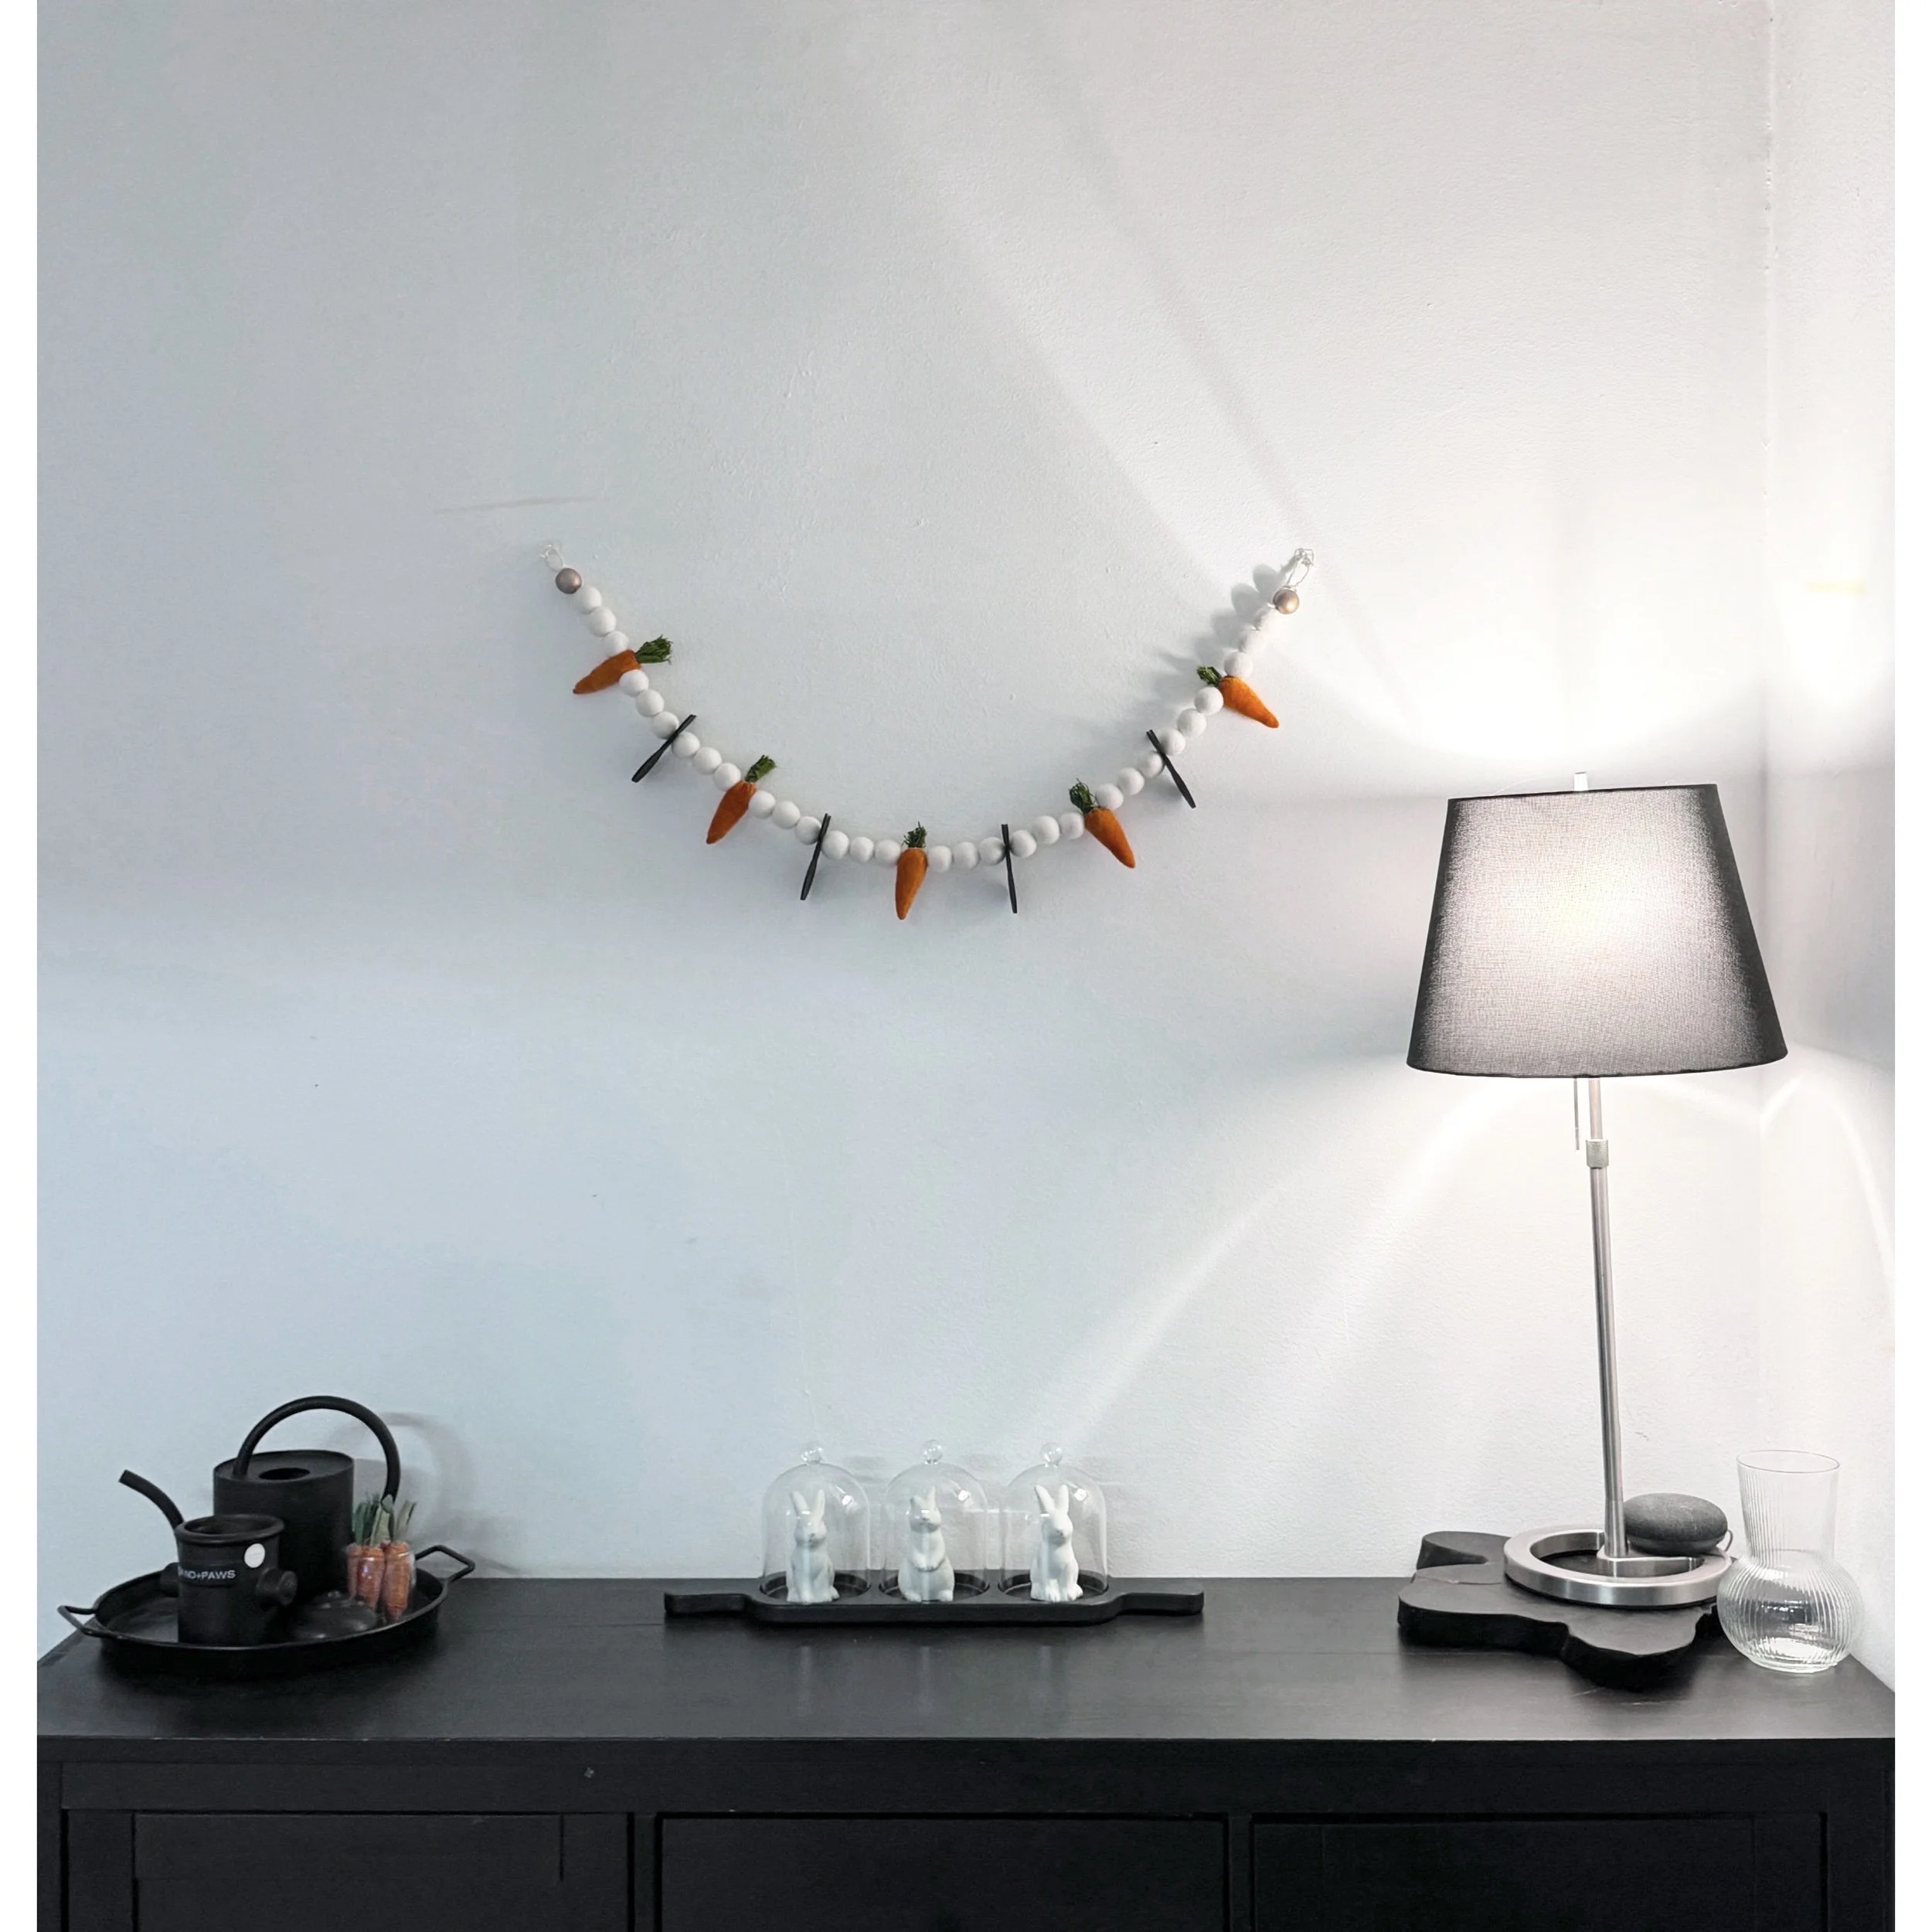
The perfect spot for my garland— was on a wall, and the other is draped between my kitchen and counter. I used clear hooks to hang the garlands and displayed it prominently. After Easter, I will gently fold it and store it in a dry place for next year.
Troubleshooting
Some of the items on the garland started shifting, so I secured them with tighter knots and a dab of hot glue. Sometimes the needle got stuck so I needed the pliers to help pull the needle through the felt balls.
Conclusion
This was a delightful addition to my Easter décor, and I haven’t hesitated taking pictures and sharing them online. If you would like to purchase a garland, you can find her on my Etsy Shop.


